Use Local Storage in React - The fastest way! 🚀
The fastest way to use local storage in your react app!
Hello Devs 👋
This is Savio here. I'm young dev with an intention to enhance as a successful web developer. I love building web apps with React. I have proved my superiority in frontend technologies.
Today, I'm gonna share how you can use local storage in your React app. ⚛

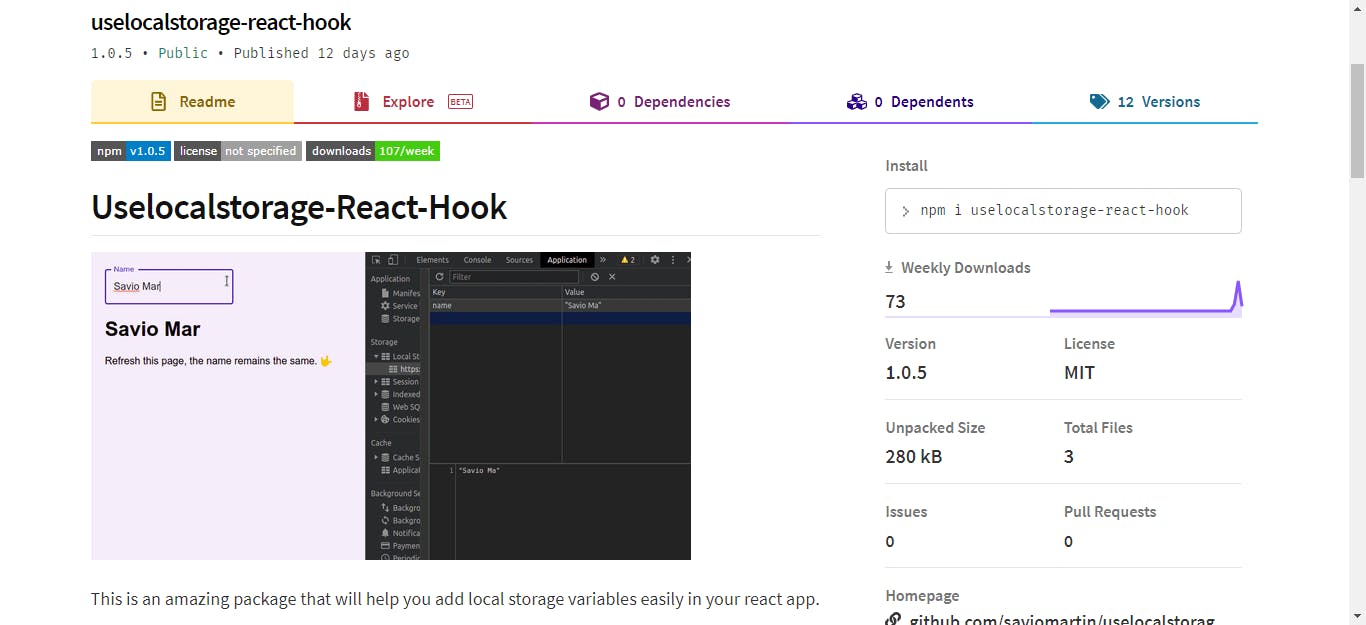
Last week, I published an npm package that will make the work super easier. It is called uselocalstorage-react-hook, and I'm pretty sure you'll love the way it makes everything super easy.
Lets get started 👨💻
Install package
It is so easy, just go add the command in your terminal.
npm i uselocalstorage-react-hookImport
uselocalstorage-react-hookImport the hook to your project
import useLocalStorage from "uselocalstorage-react-hook";Start using localstorage 🎉
const [user, setUser] = useLocalStorage("name", "John Doe");As you can see here, I have used the hook in the same way as using a
useState. Yeah, that's it you can now use local storage. The data you have entered asuserwill stay persistent forever till you edit. So cool, isn't it 🙌 Yeah, that's it, now you can see a new variable with data is assigned in the local storage of our app.
Demo application
I hope you got a good understanding of using local storage now on your react app. Now, it's time to build an app that uses localstorage on our own. Let's see 👀
Create a react app ⚛
npx create-react-app appnameInstall package
For the sake of this app, lets install
material-uialsonpm i uselocalstorage-react-hook @material-ui/coreCode the app 👨💻
Time to code ⏲, Lets head over to
App.jsand add an input with a<h1>. Theinputwill store and edit thelocalstoragedata. The<h1>will display the data. Here goes the sample code 👇
import useLocalStorage from "uselocalstorage-react-hook";
import TextField from "@material-ui/core/TextField";
import "./styles.css";

const App = () => {
  const [user, setUser] = useLocalStorage("name", "John Doe");

  return (
    <div className="App">
      <TextField
        label="Name"
        variant="outlined"
        value={user}
        onChange={(e) => setUser(e.target.value)}
      />
      <h1>{user}</h1>
      <p>Refresh this page, the name remains the same. </p>
    </div>
  );
};

export default App;
Now the input will take care of the user and <h1> will display it.
To make the app look bit better, I'm gonna add some styles to the app 🎨. Here goes the App.css
body {
  background: #f5effc;
  padding: 20px;
  font-family: "Roboto", sans-serif;
}
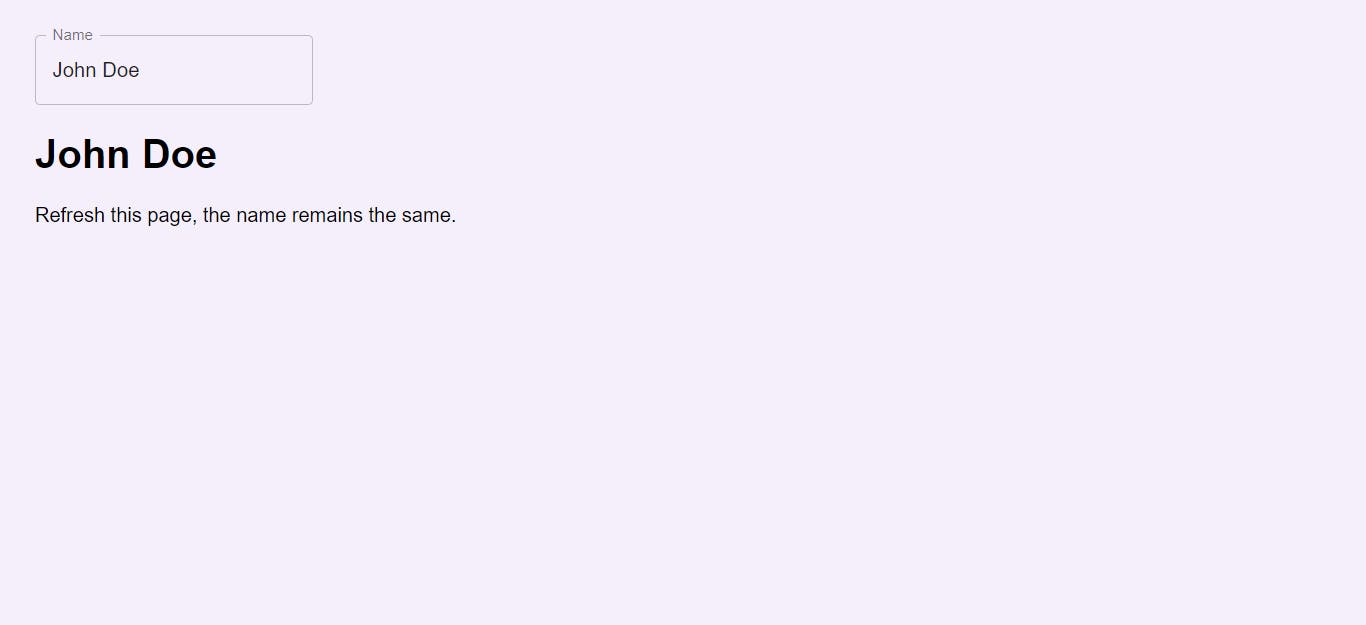
Now, our app will look like this. Seems pretty right?

Now you can edit the input, you can see that the <h1> is also changing.
Now, it is time to test. Just refresh the page ♻
You can see that the user remain persistent, it will still show the name we have entered before. This is exactly what we wanted
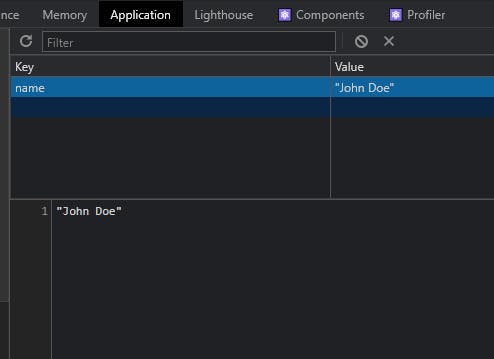
Now, to check, just inspect your app
inspect > Application > Storage > Local Storage > name
We can see a key called name has our entered value in it. It is also updating real time when we change our value. It was easy, right 🚀
Live Demo 🚀
More demos ✌
Here are some advanced demo's of localstorage you will love, Enjoy! 🎉
Intermediate
You can see in this demo, you can ramdomize your gradient and when you refresh ♻ the page, you'll come back to the last gradient. 🎨
Advanced
This is a bit advanced demo, this demo uses github api to create a card for a user. You can add a github username and it will show you his card with name, followers, bio etc. When you come back to the page again, you can still see the card of the user you have last entered. ✌
👀 Wrapping Up
Yeah, that's a wrap. Hope you enjoyed the article. Do not hesitate to share your feedback. I am on Twitter @saviomartin7. Give a follow!
I hope you learned to use local storage, now go start building amazing things. Feedbacks are greatly appreciated! 🙌
Have an amazing day!


